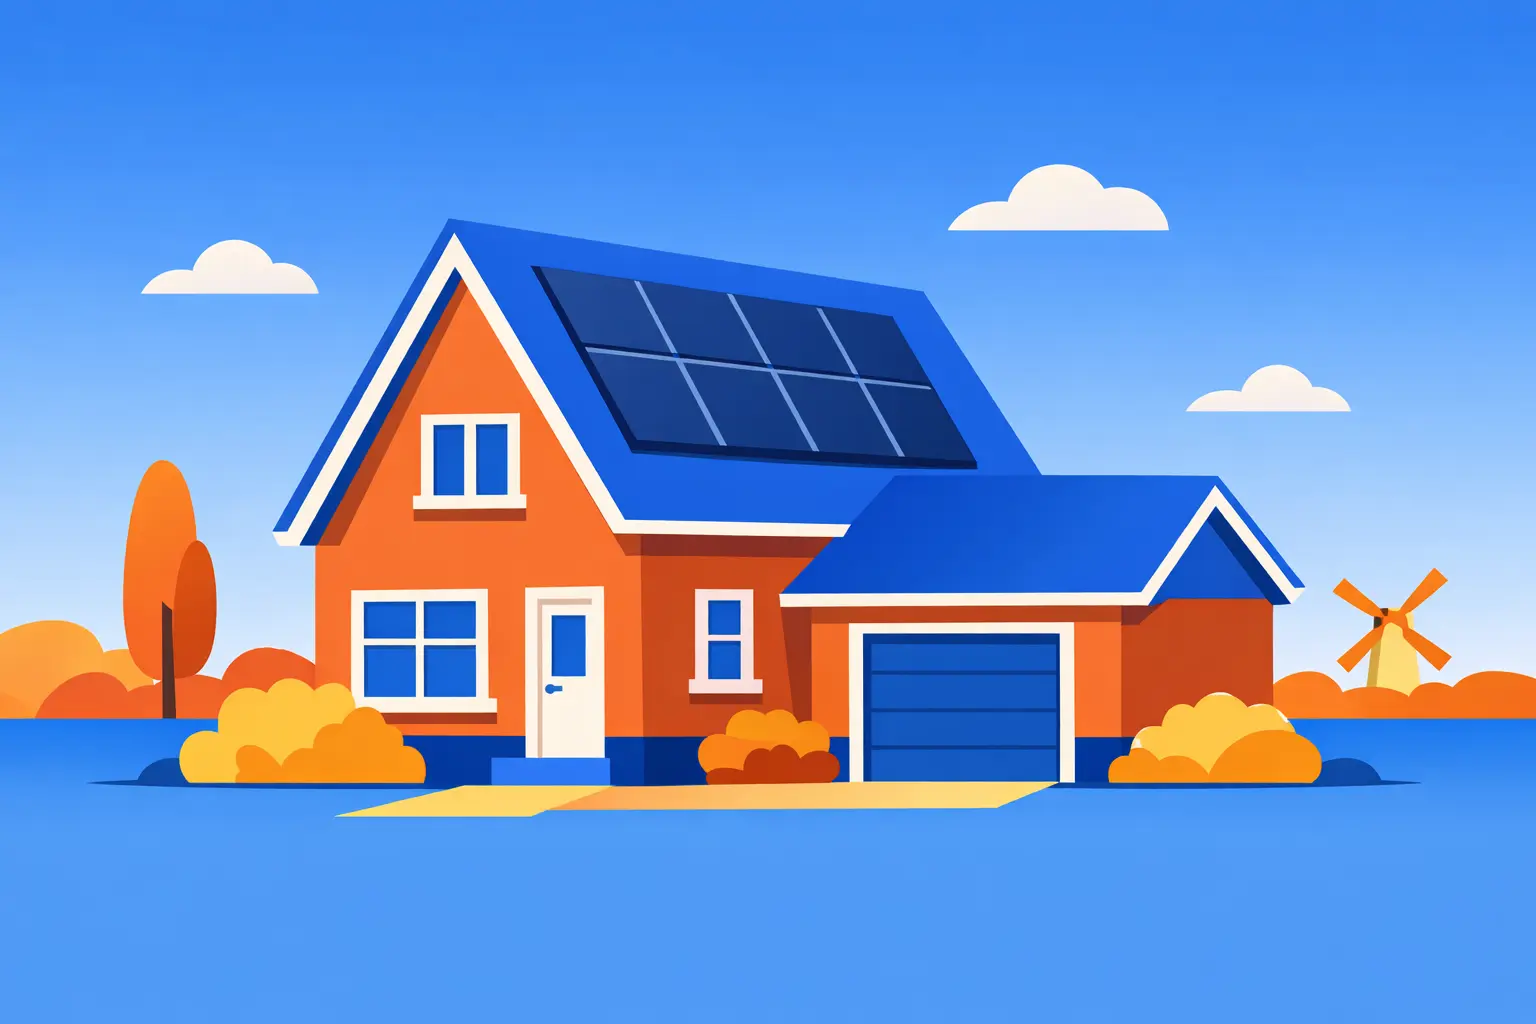
House with solar panels and consumers
Peter has a house with eight solar panels on the roof. He has a smart meter with a P1 port, which records his energy consumption and feed-in, as well as his gas usage. Finally, there's an analog water meter. Peter would like to see how much energy he consumes and feeds back, his own consumption (both gas and electricity), the energy generated by his solar panels, and his water consumption.
Supplies
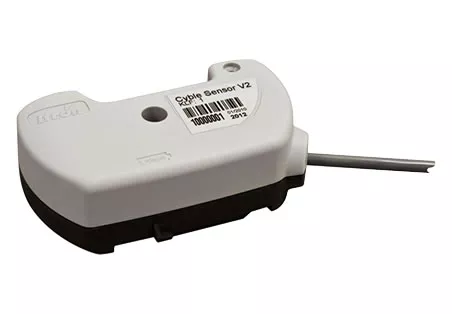
Itron Cyble Sensor V2
Pulse sensor for Itron or Aquadis watermeters and Itron gasmeters
Order now
Installation
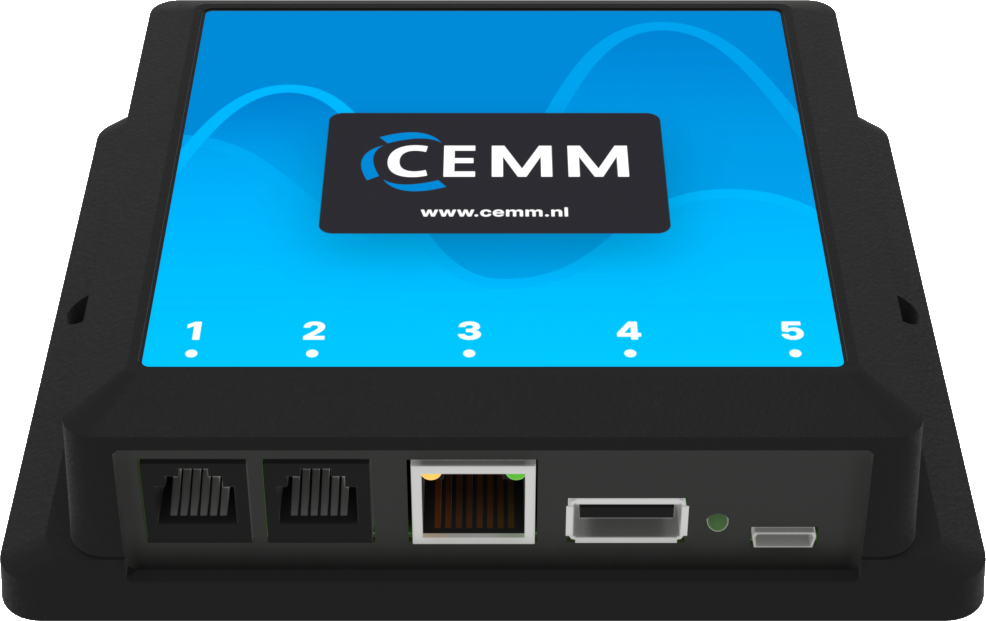
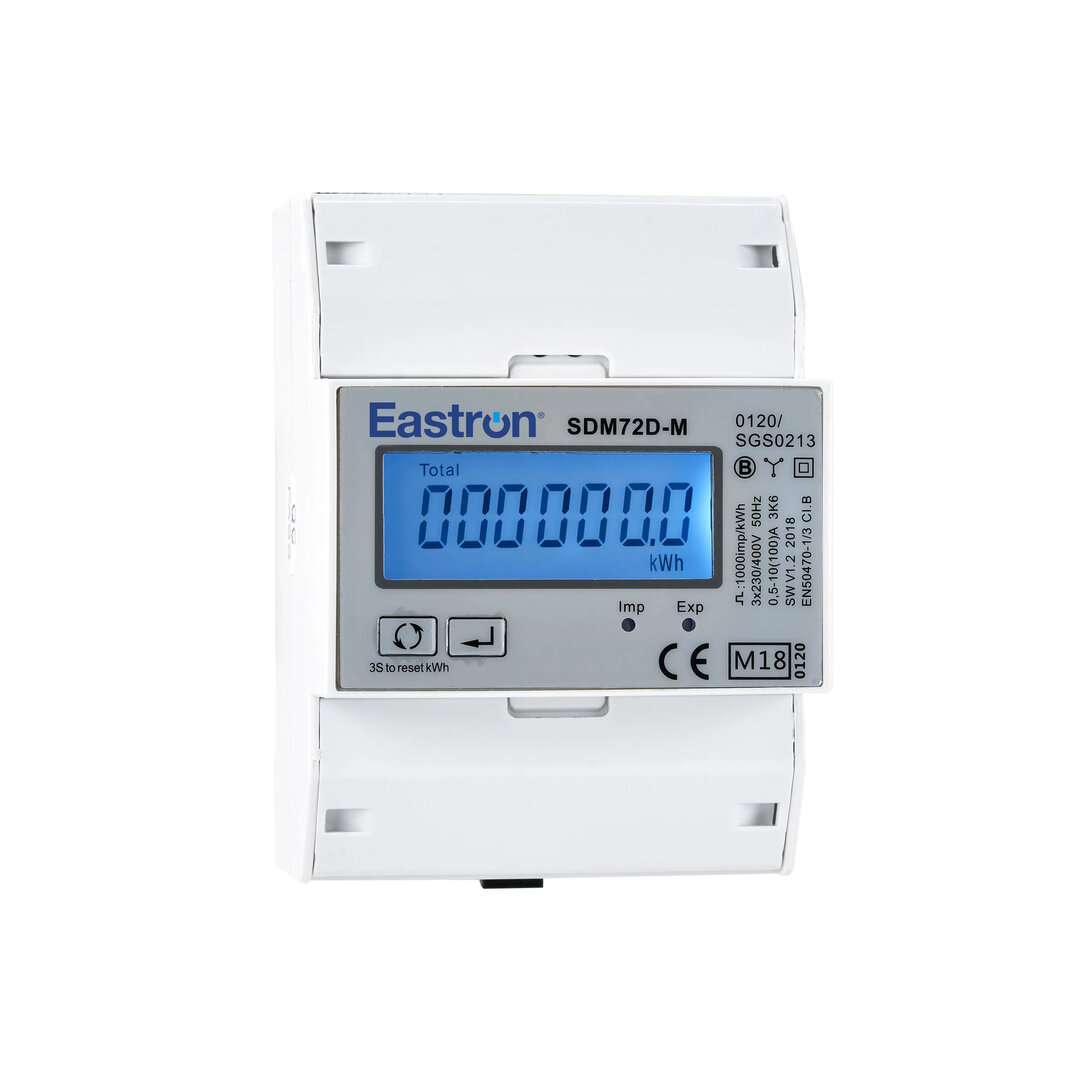
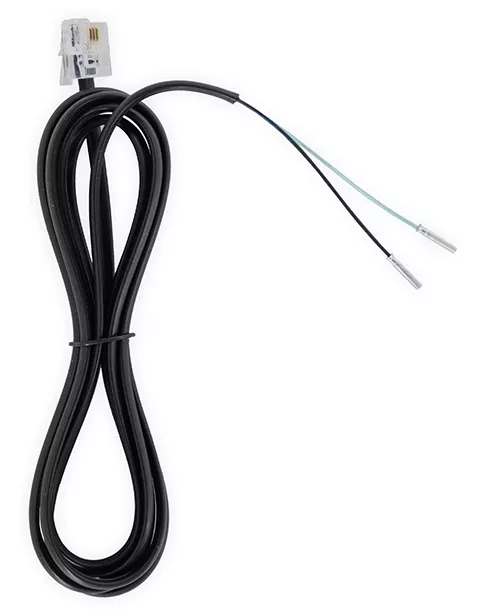
To view the desired data, Peter's electrician installs a 3-phase kWh meter on the circuit for his solar panels in the meter box. Peter attaches a pulse generator to his water meter and connects the smart meter via the P1 port. See below how the components are connected to the CEMM and to which port. If a port is not clickable, it is not used in this scenario.