A small office building
Oscar owns a commercial property with a small-scale energy connection (smart meter with a P1 port). There are 3-phase solar panels on the roof, a charging station, and a heat pump for cooling and heating (both 3-phase). Oscar would like to monitor all these systems and the main connection. He also wants to monitor the temperature to see the effect of the outside temperature and insulation measures on the heat pump's energy consumption.

Supplies

Activation code for Eastron modbus RTU software module
Adds support for Eastron kWh-meters via Modbus RTU.
Order now
Activation code for Teracom software module
Adds support for Teracom sensors via Modbus RTU.
Order now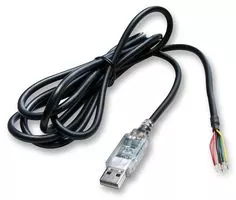
Modbus convert (RS485) with 5V power supply
Modbus convert (RS485) with 5V power supply, 1.8m
Order now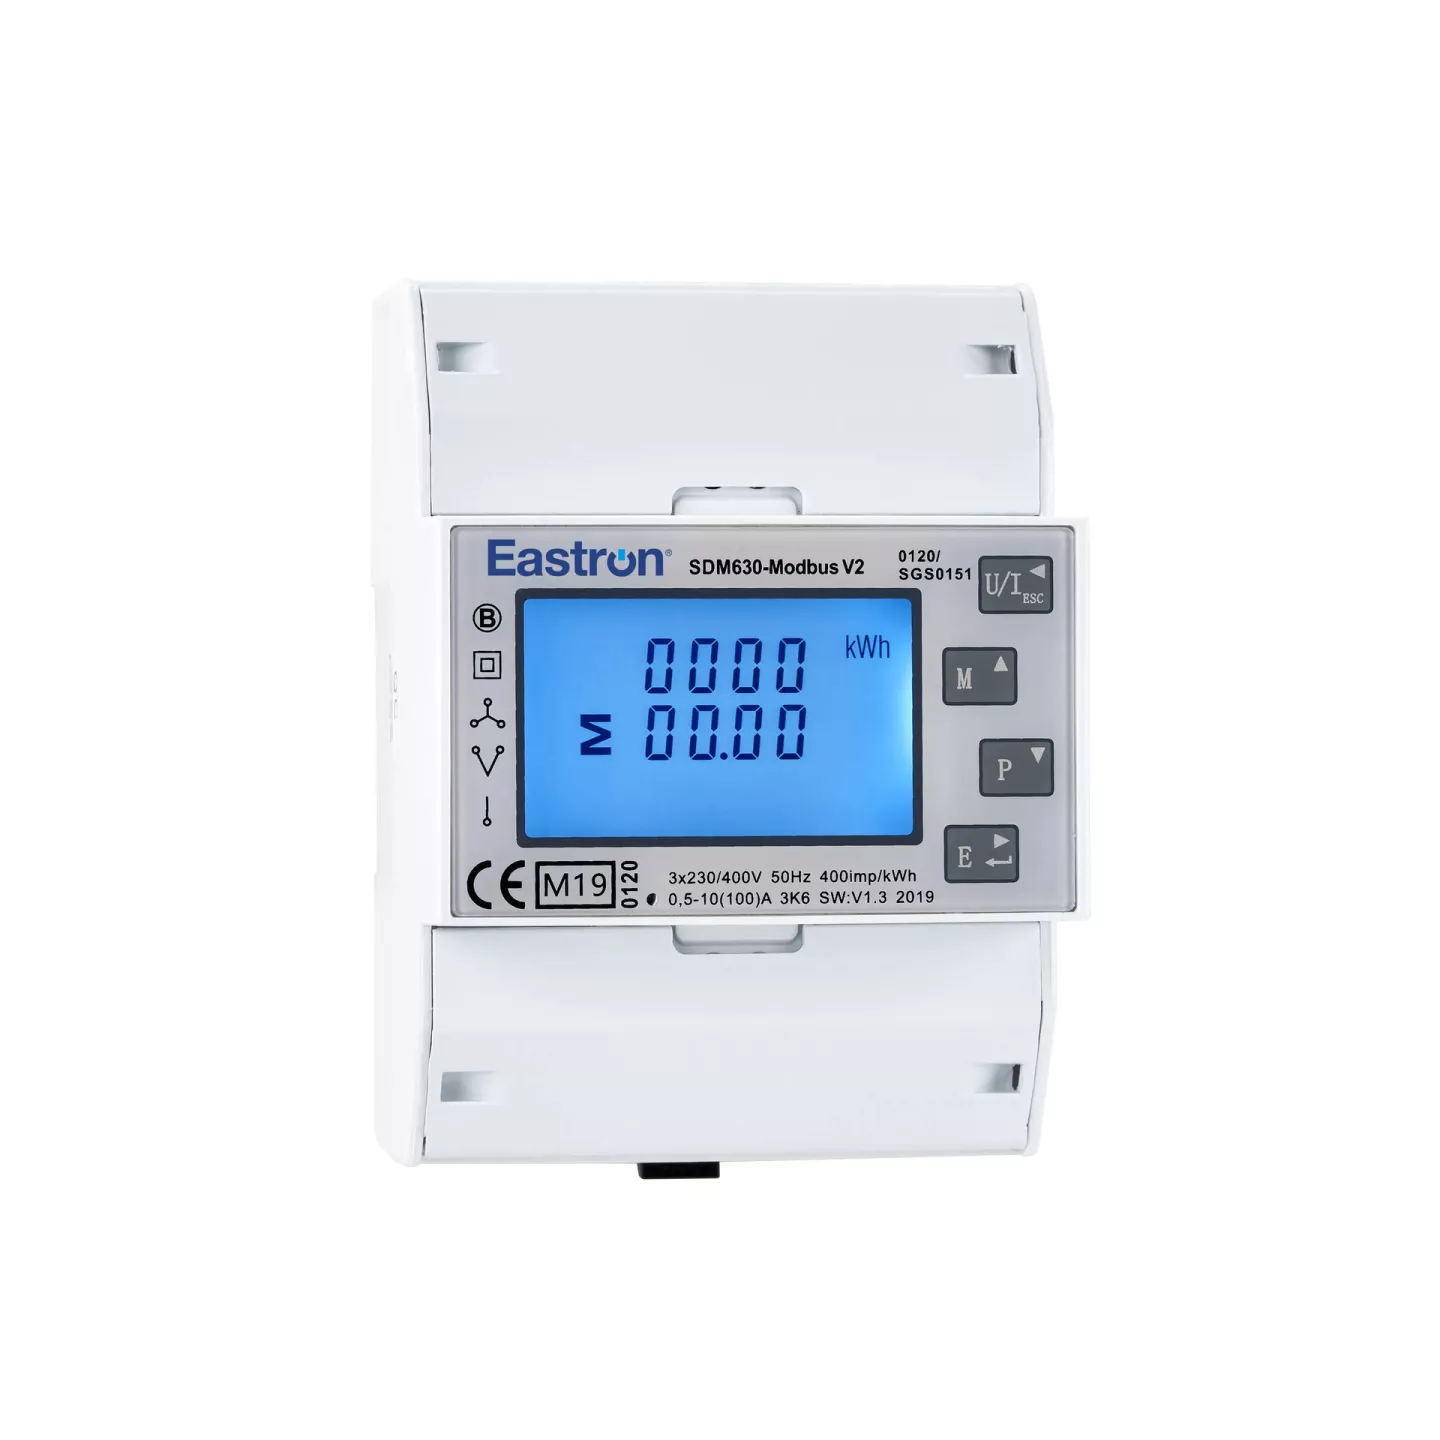
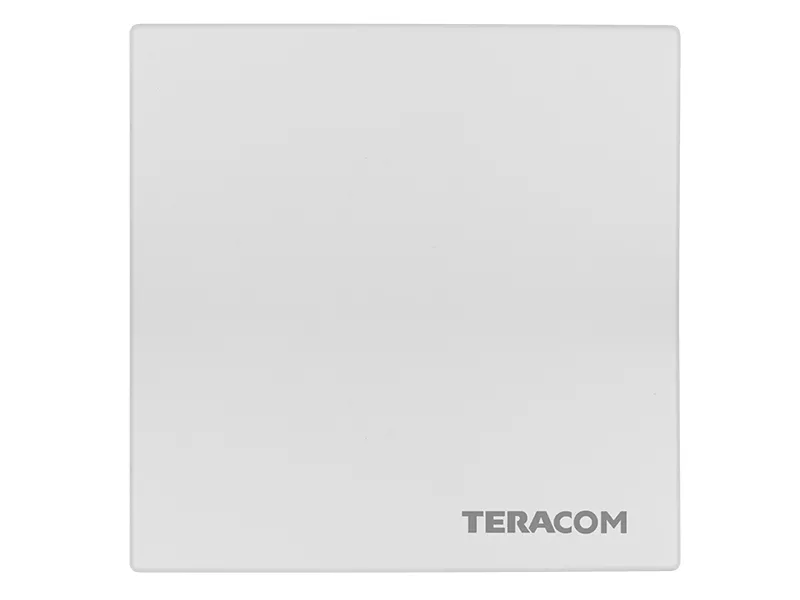
Teracom temperature and humidity sensor
The Teracom TSM400-4-TH is a humidity and temperature sensor that supports the Modbus RTU protocol via the RS-485 interface.
Order nowInstallation
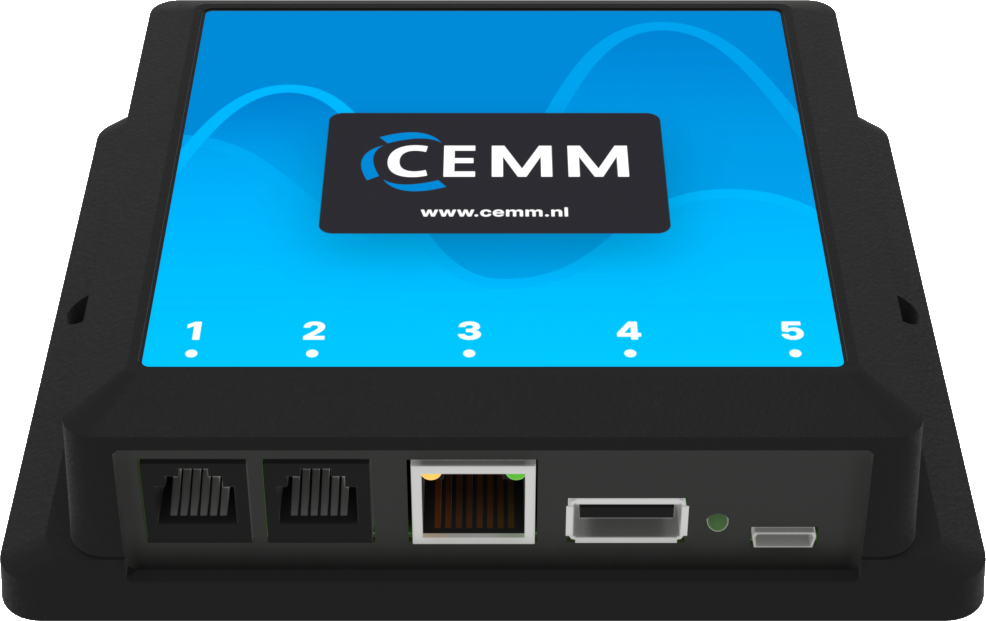
To access the desired data, Oscar equips the solar panel, charging station, and heat pump groups with 3-phase kWh meters. The smart meter is read via the P1 port. A temperature sensor is installed in two different locations within the building. See below how the components are connected to the CEMM and to which port. If a port is not clickable, it is not used in this scenario.